Getting Creative with Shutter Speed
April 20, 2019
I’d like to have a discussion about shutter speed and how you can use it as a creative tool in your photography. Before we can do that, though, we need to get a bit technical. Shutter speed is one of three components that control exposure; these three components – shutter speed, aperture, and ISO – are often referred to as the exposure triangle. They all work in concert to control the amount of light hitting the film or digital sensor. If you want to have your image correctly exposed, ie not too dark and not too bright, you have to have the right setting for each of these components for that particular scene. Changing any of the three settings will change the exposure, whether it’s making it better or worse. The ISO is how sensitive the film or digital sensor is to light. The lower the number, the less sensitive it is, but the cleaner the image it produces. With film, this means there is less noticeable grain to the image. With digital sensors, this means there is less noise in the image. Noise shows up as noticeable speckles all over the image, and the more noise in an image, the more it appears to be very pixelated. Aperture is the opening in the lens that controls how much light passes through the barrel of the lens to hit the sensor or film. It is a mechanism made of different numbers of overlapping blades that move together to form the different diameters of the opening. When it’s wide open (the lowest f-stop number), massive amounts of light comes through. When it’s closed down (the highest f-stop number), only a tiny trickle of light comes through. Think of it like a faucet – barely on produces a tiny stream, a tiny opening in the aperture; fully on produces a deluge of water pouring out, a large opening in the aperture. Due to the physical nature of the blades and other more technical matters, when the aperture is closed down, you can have more depth of field (more things in focus in your image at varying distances from the lens) as well as different shapes for the starburst effect. Shutter speed is the length of time the shutter is open, allowing the light coming through the lens to hit the sensor. The longer it’s open, the more light hits the sensor, while the shorter the amount of time, the less light makes it to the sensor.
If you have the settings such that the exposure is correct, you can then make changes to achieve certain visual results, so long as you make the appropriate changes to the other settings too. Remember, aperture controls depth of field, ISO controls sensor noise or film grain, and shutter speed controls motion capture. If your correct exposure has your aperture at f1.4, but you want to have the sun produce a starburst in your image, you’ll need an aperture of f16 or higher. In order to keep your exposure correct, you’ll either have to increase your ISO or decrease your shutter speed or both. Likewise, if you were hoping to get most of the scene in focus but not requiring a starburst (maybe the sun won’t be in the actual shot), you’d need to take similar steps. You’d still need the f-stop to be at least f8, requiring the ISO to increase or the shutter speed to decrease or both. Conversely, if you’re finding your image has too much noise, you will need to decrease your ISO. But, in order to keep the correct exposure, you will need to lengthen your shutter speed, open up the aperture to a small f-stop number, or both. Let’s go over that one last time. If you have a digital sensor or film that’s not very sensitive to light, ie a low ISO, you need a lot more light to hit it in order to produce a correctly exposed image. This can be done through a combination of length of time you’re allowing the light to hit the sensor (shutter speed) and how much light is allowed to hit the sensor in that amount of time (aperture). When you get the correct combination, you get the correct exposure. But, you essentially only have a few options. If the ISO isn’t changing, you can either have a long shutter speed with a small aperture, a short shutter speed with a big aperture, or somewhere in the middle for both. It all depends on the look you want to have for that particular image.
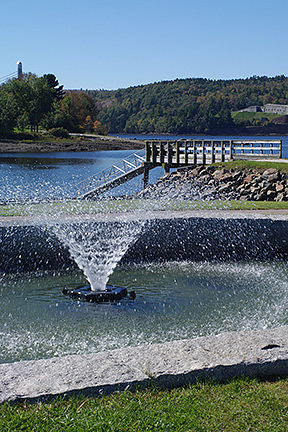
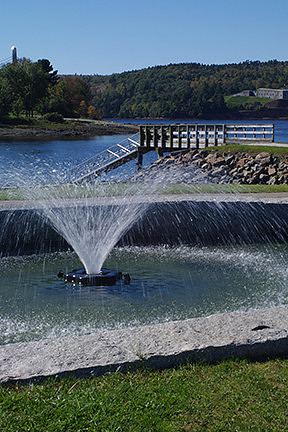
This photo was taken with a fast shutter speed for a short exposure to freeze the droplets of water in the fountain. Bucksport, Maine
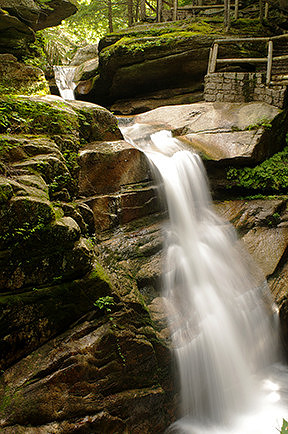
For now, let's concentrate on shutter speed. For years, I rarely ever used a tripod in my photography. That meant I needed a shutter speed that was fast enough to handhold my camera without the film being able to register my small movements - the blood rushing in my veins, trembling in my hands, slight swaying of my body. However, I was almost always shooting with either 100 or 200 speed film. That meant that unless I was in the absolute brightest circumstances, my shutter speed was at 1/60th or 1/125th of a second and my aperture was completely wide open at f1.4, f1.8, f2.8, whatever the particular lens allowed. This meant I really didn't have complete artistic control over my images, so they all looked relatively similar - very shallow depth of field and very static. This meant that only the one place I focused my lens on was in focus, such as a flower in the foreground or the mountains in the background. It also meant that anything moving, if it wasn't moving too fast, was stopped completely in its tracks, such as drops of water in a waterfall, whether I wanted it that way or not.
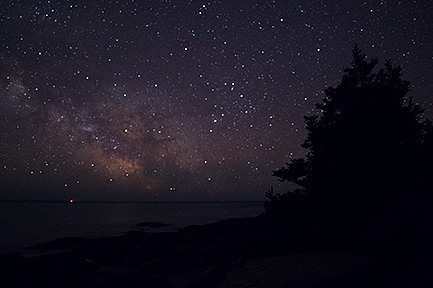
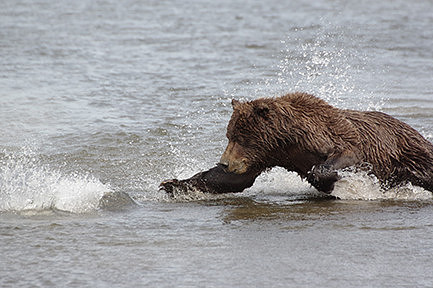
Once I started using a tripod regularly, more creative possibilities opened up. I could choose to have a fast shutter speed (making the necessary changes to ISO and aperture) to get the depth of field I wanted, such as getting the flowers in the foreground and the mountains in the background both. I could choose to completely freeze all motion, such as an animal running or a bird in flight, no matter how fast they were moving. At night, this meant I could choose to do star points to help show the sky in all its glory in a way we’re familiar with seeing it. On windy days, I could freeze the motion of flowers to still capture their beauty and detail despite their dancing in the breeze.
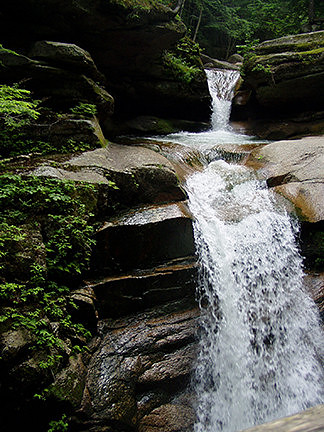
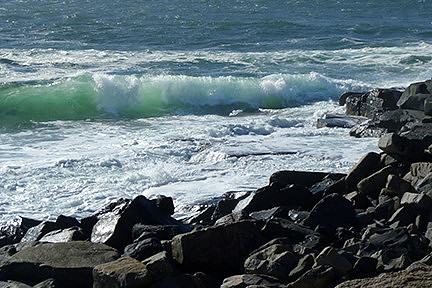
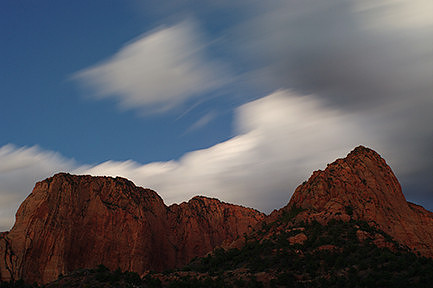
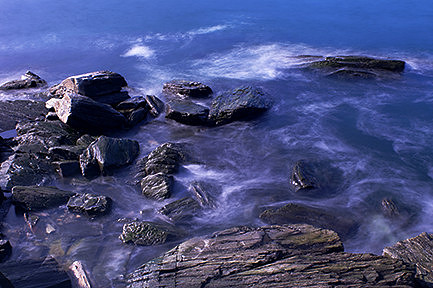
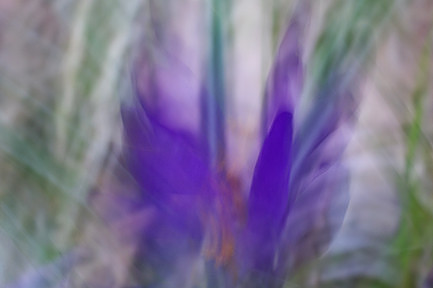
However, I could also choose to go with a longer shutter speed. I could get that beautiful silky water effect with streams and waterfalls. At the ocean, I could use slow shutter speeds to produce long exposures that create interesting patterns in the waves, or even smooth them out completely, creating a misty surreal look. At night, I could choose to do star trails, or even light painting, whether artificially lighting a scene or making abstract images from the lights. I could capture the movement of the clouds across the sky, emphasizing their speed as they leave streaks through the image. I could do the same with moving animals, panning the camera with the animal as it runs along, keeping the animal somewhat sharp and blurring the rest of the scene. One of my favorite options is to handhold the camera, and while photographing a flower or tree, move the camera in different ways with a slow shutter speed to get abstract images.
So you see, once you understand how the exposure triangle works and take control over the settings in your camera, you have limitless possibilities for creativity in your images using different shutter speeds. Certain situations may require specific gear to get the desired results – tripod, cable release, neutral density filters, polarizer filter – but even without those, you can make do. There have been plenty of times when I had to use a rock to prop up my camera because I didn’t have a tripod handy. Don’t let equipment stand in the way of experimenting and being more creative in your photography. I hope this will help you to get out there and have fun.
|