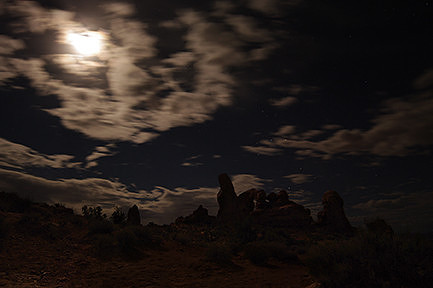
Night Photography
April 15, 2017
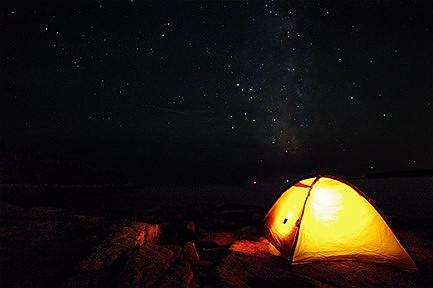
When I was little, we lived in a small trailer park in the middle of the woods. Our home was on the back road with only two neighbors. This meant there wasn’t a lot of traffic or a lot of light at night. My dad was a big astronomy buff. While he didn’t have a telescope, he did have a pair of binoculars. Whenever there was an astronomical event, such as a lunar eclipse or meteor shower, or if he simply wanted to look up at the stars, we would head out onto that back road by our place. With the lack of traffic, lights, and trees, it was the best and easiest place for stargazing.
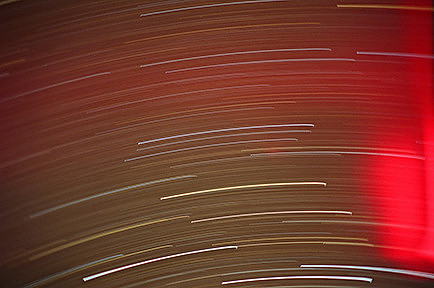
As I grew older and started learning more about photography, I tried to capture what I saw in the night sky. I experimented with star trails, moon trails, lunar eclipses, and meteor showers. In school, I learned about other creative applications for night photography. For example, car lights leaving sinuous streaks of red and white across the landscape. Or, images of people as nothing more than ghostly impressions. There was even one moonlit barn with the same person standing on either side of the door. It was all very exciting. Over the intervening years, I would occasionally try my hand at some form of night photography with varying degrees of success. In the last year, I have found myself experimenting more and more with it. Because of the instant feedback of the LCD screen that digital provides, I’m having a lot of fun and learning and improving so much faster than before.
Night photography is a manual process that requires a lot of time, test shots, and experimentation. For the majority of the time, you have to focus manually because it’s too dark for the camera’s autofocus system to work. The only time that’s not true is if there’s enough light, either from streetlights or your own flashlight to allow the camera to focus. However, even then, you want to lock it down by switching to manual once it’s attained focus to prevent it hunting when the light goes out or while you work on the rest of the setup. You also have to adjust the ISO, aperture, and shutter speed manually because the darkness confuses the camera’s auto exposure and light meter systems. What I find seems to work best is to get the camera set up on the tripod, pointing the lens in the general area I want for a composition. Depending on what I’m trying to photograph, I might be able to focus visually, if it’s lit well enough. Otherwise, I have to focus using the distance scale on the lens. I need to adjust the camera settings to let in as much light as possible in the shortest amount of time so that I'm not losing precious time while still working on correcting the composition. I start by setting the aperture to the lowest number, ie the widest opening. Next, I change the ISO to a high setting. Until a few months ago, the camera I used was several years old, so its highest ISO setting was 3200, mimicking the film era. For initial setup, however, I still set the ISO to 3200. Then, I put my shutter speed on 30 seconds and take a photo.
These settings allow me to see enough in the LCD to know if I have everything framed up correctly. I can keep fiddling, adjusting the camera position, taking test shot after test shot until I have the composition nailed. After that, I can start changing the ISO and shutter speed to get the exposure and effects I’m looking for. Again, this usually requires multiple test shots, either to perfect the image or simply to try something a little different to see how it turns out. Just like with daylight photography, changing the white balance settings will have a major impact on the photo’s appearance, so I like to experiment with that after I’ve gotten the other settings where I want them. Finally, if I am doing any form of light painting, that involves a lot of trial and error. It’s not easy to know how to hold the light, where to shine it, for how long, etc. And, remember, what works for one situation won’t necessarily work on a different night, even if the location is the same. The weather and moon phases really affect how everything comes together, as well. Night photography requires a lot of patience and a lot of old-fashioned preparedness. Each exposure will be many seconds long, if not minutes, or even hours. Because of this, expect to spend a long time outside waiting. It’s always colder at night, even in summer, so dress accordingly, or at least bring layers to add as needed. I’ve learned it also helps to shoot with someone, or at least have someone to keep you company. It’s nice to have someone to talk with to pass the time, to enjoy the camaraderie, and to share the experience. It’s a great opportunity to inspire each other by seeing what each person is creating and to help each other achieve those goals, especially when light painting is involved. It’s also beneficial for safety reasons. Having more than one person in a location can help keep the scary things away, real or imagined. But, more than that, if something as simple as tripping in the dark and twisting an ankle occurs, you’re not alone.
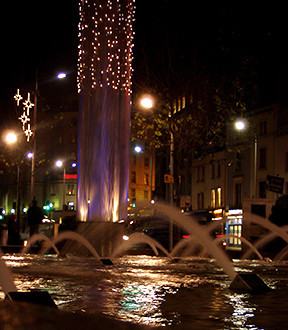
Night photography can be done anywhere, from busy city streets to remote wilderness areas, depending on the type of image you’re trying to achieve. That’s one thing everyone on the planet has in common - no matter who you are or where you live, it’s nighttime part of the time every year. So, I hope you can get out there and experiment. It’s a lot of fun, and I know I’ll be playing with it for many years to come. ~ ~ ~ ~ ~ ~ ~ ~ Click here to see more night photos. |